Handheld Laser Welding Sample Test: What to Send, Measure and Confirm Before Buying
Make weld samples traceable to the proposed joint, configuration and inspection requirement before comparing machines.
A handheld laser welding sample is useful when it represents the joint you intend to manufacture and has a recorded inspection method. Before comparing power ratings or demonstration speed, identify the material, thickness, joint design, fit-up, required finish and service conditions. Ask for evidence about the quoted configuration using those requirements. A smooth-looking weld is not, by itself, proof of internal quality, strength or suitability for service.
This guide is a procurement checklist. It does not prescribe a welding procedure, certify a weld or establish an acceptable thickness range for a particular PFT machine. The applicable production procedure and inspection requirements need review by qualified personnel.
Send a joint specification, not only a material name
Describe how the two parts meet. Provide a joint drawing, the material grade and the thickness of each component. State whether the work is a butt joint, lap joint, corner or another geometry, and show the required weld location and access direction.
Include the fit-up you expect in production. Record the gap, alignment and variations that your fixtures and incoming parts can actually achieve. A supplier's sample made from perfectly prepared coupons may not represent parts arriving from your cutting, bending or forming process.
Identify the surface condition, coatings and cleaning or preparation already planned in your process. Do not treat a coated part as interchangeable with bare material. Have the relevant personnel review material and coating hazards before any demonstration is arranged.
If you send physical parts, label them to match the drawing revision and material information. Keep a record of what was sent and any preparation performed before welding. If the supplier supplies its own coupons instead, identify the difference explicitly in the trial record.
Define success before choosing the test settings
State what the weld must do. Is it principally a visible joint, an assembly connection, a sealed feature or a load-carrying connection? Those descriptions do not establish the inspection requirements on their own, but they help your engineering team select them.
Agree which checks belong in the evaluation and which acceptance criteria apply. Depending on the job, the appropriate reviewers may specify dimensional, visual, sectional, mechanical, leak or other examinations. Do not choose a destructive test merely because a supplier has a convenient demonstration fixture; select the test that addresses the requirement.
Ask whether the inspection is performed before or after finishing, cleaning or another operation. Record rework and distinguish an initially accepted weld from one made acceptable by additional work.
| Buyer requirement | Information to send | Evidence to request from the trial |
|---|---|---|
| Joint identity | Drawing revision and component orientation | Labelled welded sample tied to the drawing |
| Material | Grade, thicknesses, surface and coating condition | Material identification and preparation record |
| Fit-up | Gap, alignment, variation and fixture arrangement | Actual fit-up used during the demonstration |
| Finished appearance | Visible surfaces and permitted finishing | Images before and after any named finishing step |
| Functional quality | Intended use and engineering-approved inspection method | Recorded examination results and acceptance decision |
| Production workflow | Weld lengths, job sequence and handling method | Timing log including preparation and repositioning |
| Supplied equipment | Requested machine and included accessories | Configuration and process-setting record |
Treat the table as a record structure. It deliberately contains no generic strength, gap or thickness limits.
Record the quoted welding configuration
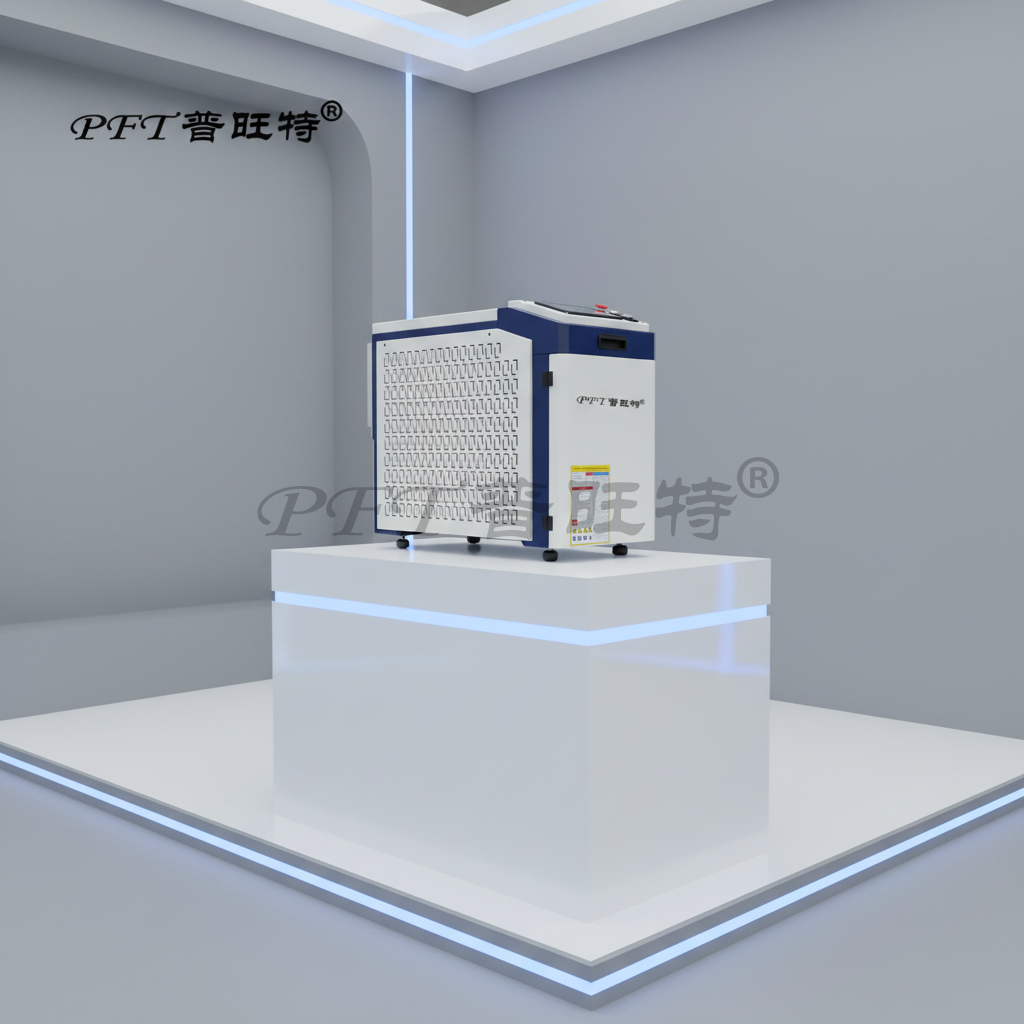
Identify the machine, laser source, welding head and relevant controls used in the trial. Record whether filler wire is used, the wire specification and the wire-feeding configuration. Identify the shielding gas and the documented delivery conditions relevant to the process.
Ask the supplier to record the settings with their units and the references needed to interpret them. Include the cooling arrangement and the workload used in the demonstration. Do not assume that a short trial establishes performance throughout your planned shift or under a different ambient condition.
TWI explains that joint gap and alignment affect laser-welding fit-up, and that filler wire can change fit-up tolerance. This supports testing the prepared joint and filler arrangement rather than selecting equipment on power alone. Its discussion is general process background; it does not establish limits for a handheld PFT configuration. TWI: joint fit-up and preparation.
If the supplier adjusts preparation or fixture conditions during the trial, record the change. A successful revised setup may be useful, but it may also create additional work that needs to be included in production planning.
Evaluate complete work rather than a short seam
Ask for a sequence that represents the normal job, including preparation, clamping, repositioning, welding, inspection and any finishing. Keep elapsed time separate from laser-on time. Identify whether the recorded sequence was continuous or assembled from different trials.
For a comparison with your existing process, use the same drawing, acceptance criteria and definition of finished output. Record parts accepted without rework, parts requiring additional work and rejected parts. Count the handling and inspection resources needed by each method.
Avoid announcing a universal speed multiplier or payback period from one attractive demonstration. The result depends on the application and the production system around the weld. The handheld laser welding versus TIG guide introduces the process decision; the sample record provides the evidence for your specific comparison.
A sensible purchasing comparison also includes documented costs for equipment, work-area preparation, utilities, consumables, training and agreed service. Use your own commercial inputs. Do not turn a supplier's demonstration into an assumed labour saving or copy an unrelated gas-cost calculation.
Include the work-area review in the purchase
Handheld describes how the equipment is handled; it does not remove the need to assess the laser work area. Before arranging a demonstration or planning installation, have the appropriate safety personnel review beam exposure, reflections, access control, fumes and the supplied safeguards. Protection should be selected for the actual system and task, rather than inferred from ordinary welding equipment.
OSHA's laser-hazards manual discusses engineering controls, controlled access and laser-specific eye protection. Use it as background for qualified site review, not as a declaration that a product is approved for every jurisdiction. OSHA: laser controls.
Request the safety instructions and configuration-specific documentation that will accompany the equipment. Identify which work-area measures are part of the supplier's scope and which the buyer must arrange. Keep training scope, service responsibilities and required site preparation in the quotation, rather than assuming they are included in the purchase price.
Do not stage unprotected demonstrations for marketing footage. Plan camera positions and sample close-ups around the reviewed work-area controls.
Keep the result within the tested application
Label the finished sample and retain the configuration, fit-up, process settings, inspection results and trial date together. State any unresolved result and the proposed next step. If the supplier recommends a different head, wire setup or material preparation, identify what needs to be retested.
Do not treat one successful stainless-steel sample as evidence for aluminium, coated stock, different joints or a larger thickness. Changing the application changes the question being answered. Likewise, a cosmetic improvement does not establish a mechanical result unless that result was examined using the agreed method.
The purchase specification should refer to the accepted evidence and its scope. If contractual acceptance or a production qualification is required, have the relevant personnel define the additional process. A supplier demonstration does not automatically complete it.
Questions to resolve before purchase
Can I choose a 1500 W welder from a maximum-thickness claim?
Use power and thickness information to frame an application review, then test the actual material, joint and inspection requirement on the proposed configuration. This guide does not supply a maximum-thickness promise.
Does a good-looking bead prove weld strength?
No. Appearance is one observation. Your engineering team must define the examinations needed for the intended use, and the evidence should distinguish appearance from the functional result.
Will wire feeding solve every fit-up problem?
Do not assume it will. Record the joint gap, alignment, filler and preparation used in the successful trial. Confirm that the same conditions can be maintained in your production process.
Request an application review with a traceable sample
Start with the PFT-1500W handheld welding product page and the laser welding category. The broader laser welding buying guide can help organise configuration questions.
For a sample-focused quotation inquiry, include the joint drawing, material information, fit-up range, required inspection, production sequence, cooling and utility constraints, and destination. Ask for a trial record and an explicit list of unresolved application questions. Commercial terms, included service, documentation and delivery remain matters for the configuration-specific quotation.